Sometimes you just need a quick solution for having a custom form in a Splunk dashboard. So this short blogpost will showcase how to create the HTML form and custom submit button using Javascript.
Create the dashboard
I’m still using the XML dashboarding capability of Splunk - the newer JSON based stuff seems promising but is as of now lacking in features - I guess it will take them some more years to be on par.
Let’s consider the following dashboard code:
<dashboard script="sx_html_form_with_custom_submit_button.js">
  <label>SX002 - HTML form with custom submit button</label>
  <row>
    <panel>
      <html>
        <h1>This is a HTML panel with some inputs</h1>
        This form needs a custom Javascript file to enable the submit action (filename: appserver/static/sx_html_form_with_custom_submit_button.js)
        <br/>
        <table class="table">
          <tr>
            <th scope="row">Enter value for input1:</th>
            <td>
              <input type="text" id="sx_input1"/>
            </td>
          </tr>
          <tr>
            <th scope="row">Enter value for input2:</th>
            <td>
              <textarea id="sx_input2" rows="5"/>
            </td>
          </tr>
        </table>
        <br/>
        <div>
         <button type="button" id="sx_button" class="btn btn-primary">Submit form data!</button>
        </div>
      </html>
    </panel>
  </row>
  <row>
    <panel>
      <table>
        <search>
          <query>| makeresults | eval input1="$sx_input1$", input2="$sx_input2$"</query>
          <earliest>$earliest$</earliest>
          <latest>$latest$</latest>
        </search>
        <option name="drilldown">none</option>
        <option name="refresh.display">progressbar</option>
      </table>
    </panel>
  </row>
</dashboard>
In the <dashboard> element you need to define a script=something.js. This Javascript file will do the form handling and sent the results back into Splunk. The Javascript filename should match that of a file that we will create in the next section. You can also add a stylesheet=mycss.css if you need to have custom styling, in this post I’ll stick to native Splunk styling.
The <html> section contains some really basic HTML elements like <input> and <button>. What’s important here to know is the the id attribute values are later used in the javascript to handle these elements. I’ve used the default Splunk styling for the submit button to make it fit in with other dashboards I have.
The <search> section shows you how to use the form values inside a search, yeah it’s just like passing dashboard input controls into the search using $tokens$.
Create Javascript
Now that we have the dashboard in place it’s time to create the Javascript that will grab the inputs from the form and make them available as tokens in Splunk search.
From the commandline navigate to your app folder to create the required directory structure:
[splunk@splunk-sh1 ~]$ cd /opt/splunk/etc/apps/sx_splunk_library/
[splunk@splunk-sh1 sx_splunk_library]$ mkdir -p appserver/static
[splunk@splunk-sh1 sx_splunk_library]$ cd appserver/static/
[splunk@splunk-sh1 static]$
Now paste below code into the filename you setup in the <dashboard script=> declaration, in my case the filename is sx_html_form_with_custom_submit_button.js
require([
        'jquery',
        'splunkjs/mvc',
        'splunkjs/mvc/simplexml/ready!'
    ], function ($, mvc) {
    function submit_btn() {
                var submittedTokens = mvc.Components.get('submitted');
                var defaultTokens = mvc.Components.get('default');

                var input1 = $("#sx_input1").val();
                var input2 = $("#sx_input2").val();

                submittedTokens.set("sx_input1", input1);
                submittedTokens.set("sx_input2", input2);

                if (submittedTokens && defaultTokens) {
                        submittedTokens.set(defaultTokens.toJSON());
        	}
            }
    $("#sx_button").on("click", function (){
        submit_btn();
    });
   });
As you can see it’s a pretty simple; for every form element in your dashboard you need to add two lines in the submit_btn function. One line for creating a local variable from the form element (using the element id) and another line for adding the variable to the submittedTokens.
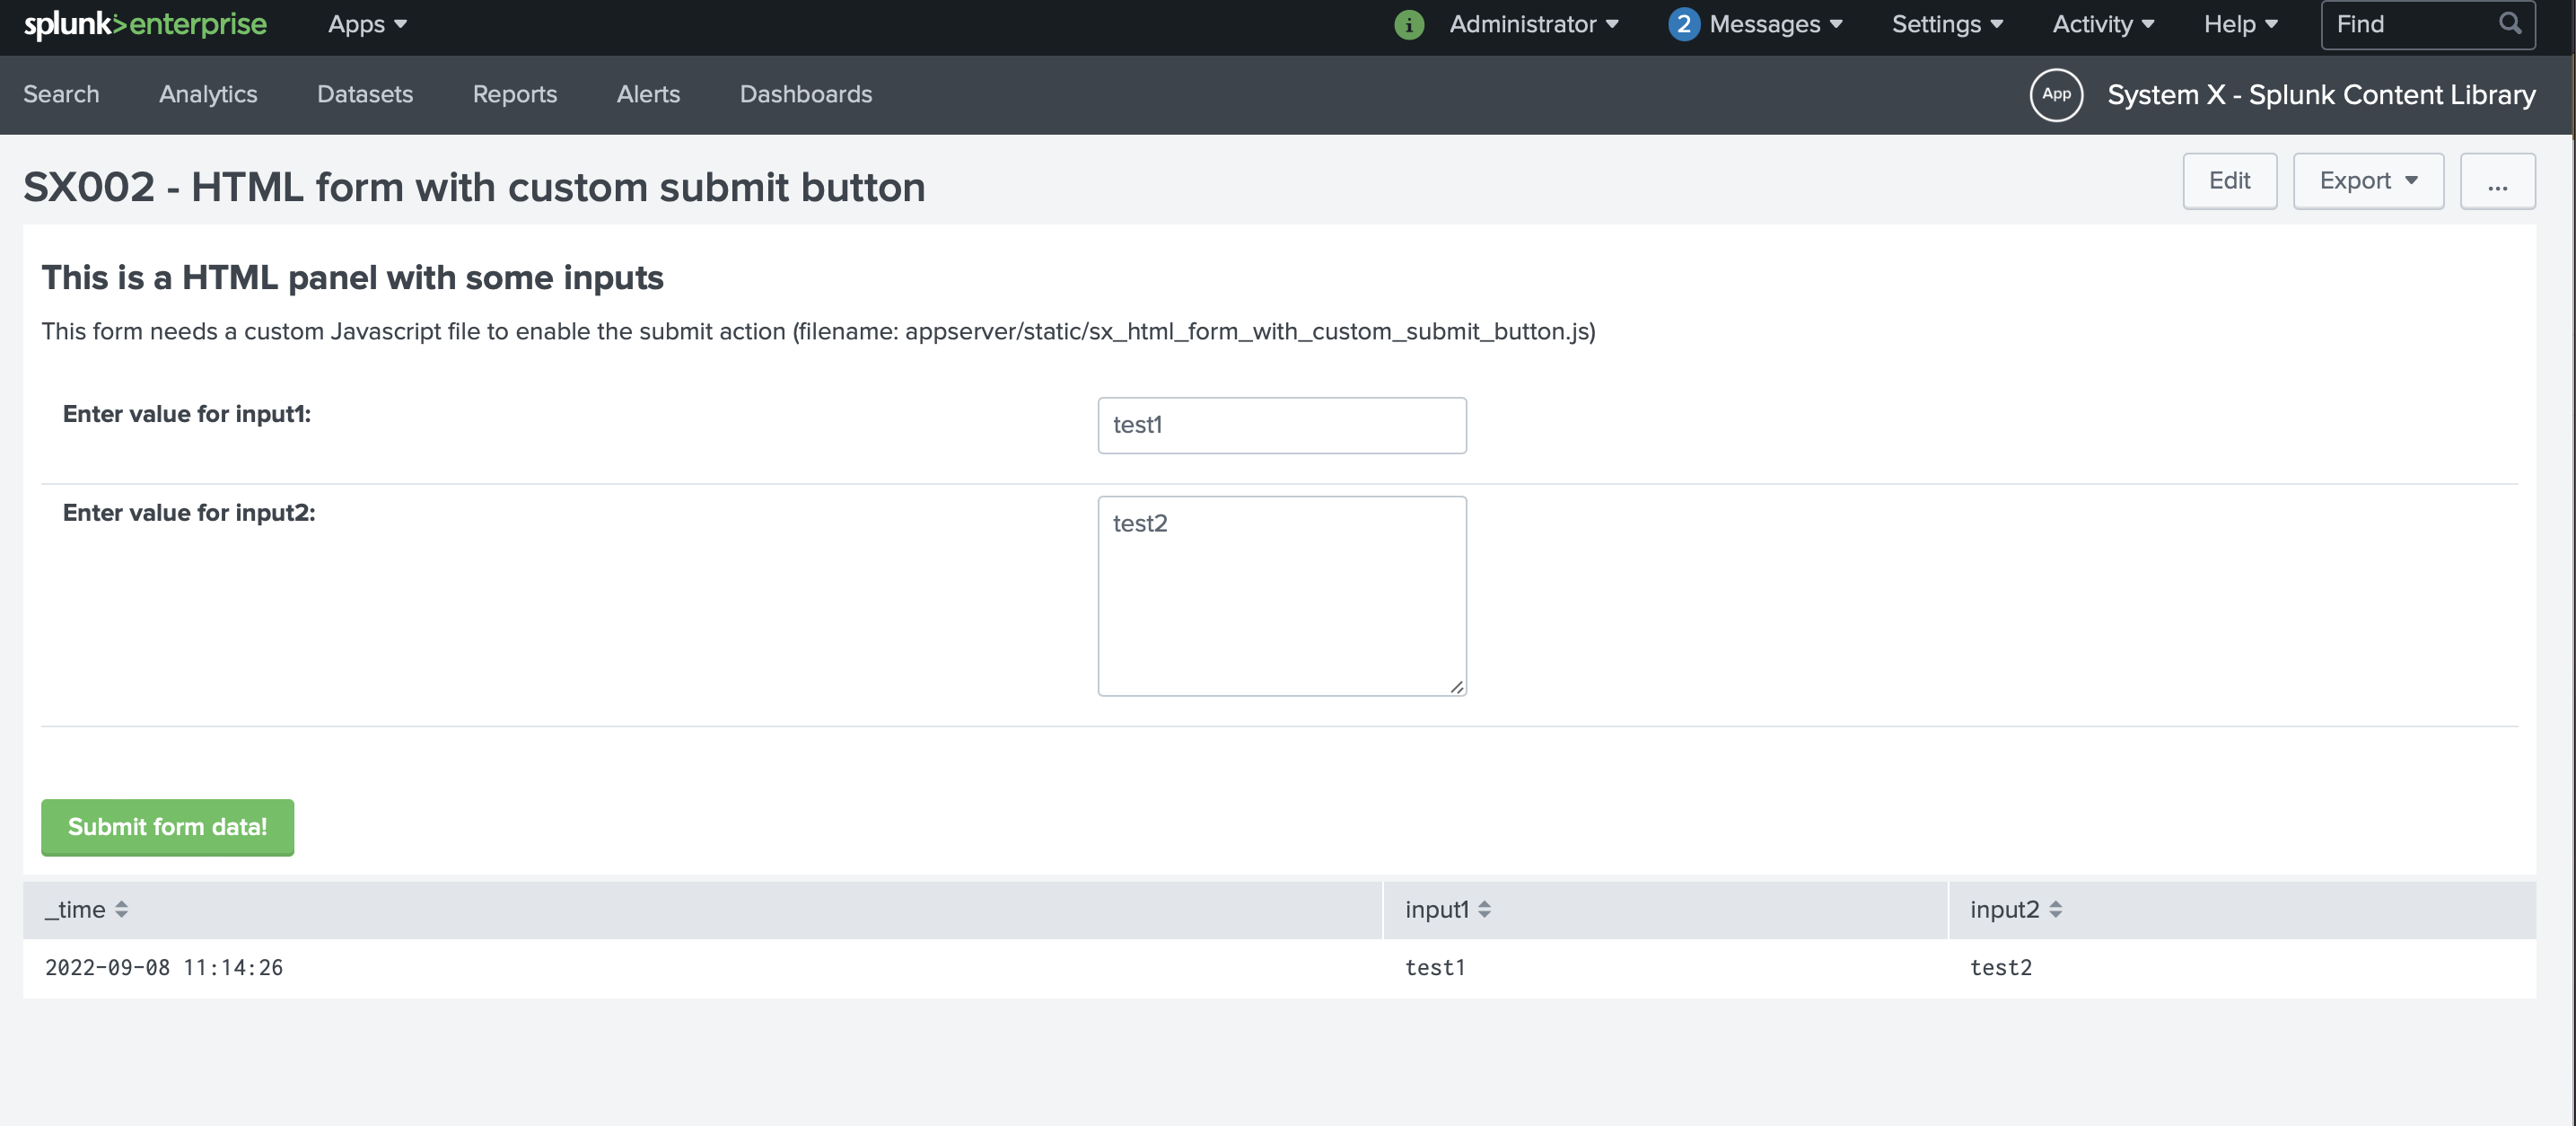
The result
If you have followed the descriptions here you should now have a dashboard similar to this:
With this simple method now in your toolbox, I hope you can realize your Splunk dashboarding use-case!
This example has been added as SX002 to the Splunk Content Library.